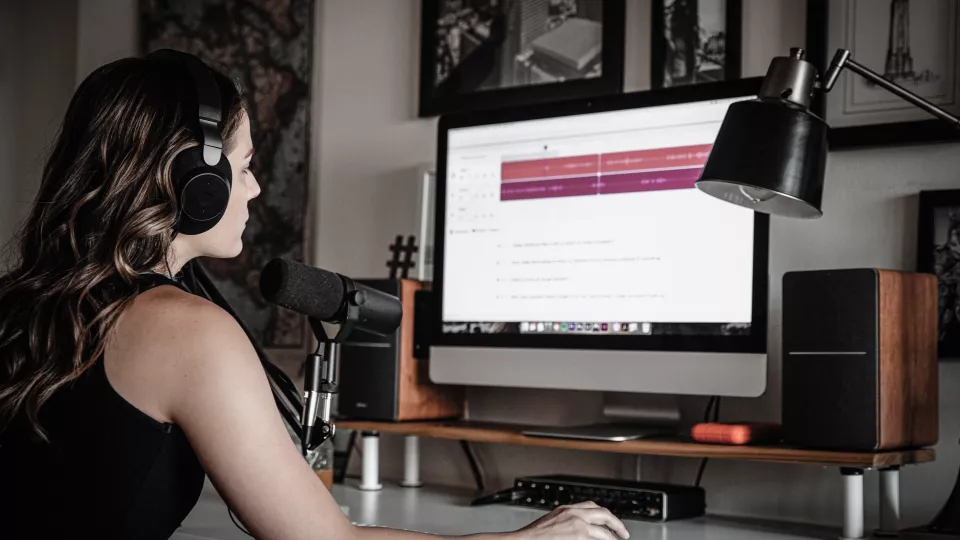
Photo by Soundtrap on Unsplash
Keep your videos short!
Don’t make your videos too long! It is not only good for the students to get short videos not exceeding 10–12, max 20 minutes – it is also an advantage for you as the lecturer. For example, you can create videos focusing on a known difficulty, a particular process or a concept, which gives you the opportunity to re-use your videos in many courses and teaching situations. It is also easier to make short videos where there is less need for editing.
Go for variation – alternate between images of yourself and your presentation slides
To create variation in your video, you can choose to alternate between showing yourself and your PowerPoint on screen. For example, you can start with an introduction, showing yourself in full-screen. When you go on to show and talk about the PowerPoint slides, you can be minimised in the lower edge of the window. Then you can go back to full-screen when interrupting the slides with a question or a comment, simply by clicking a button.
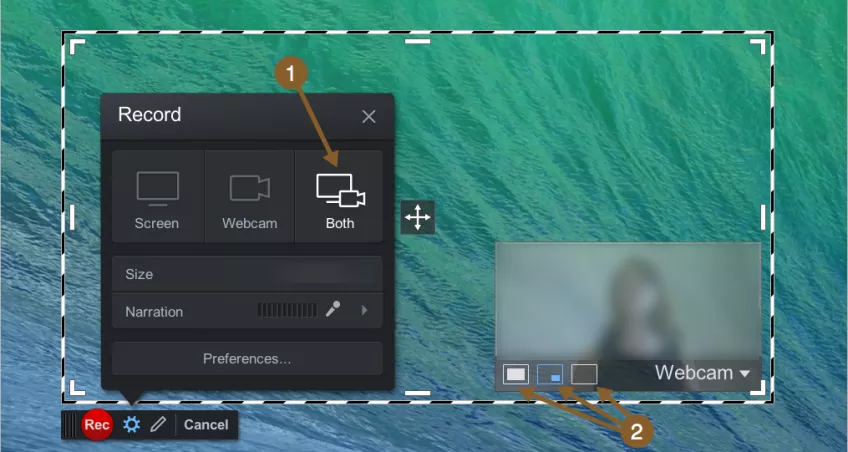
This is easy to do in Studio, the video platform which is integrated with Canvas. What you need to remember is to choose Both (1) from the start in the screen recording, to activate the option of switching between a full-screen image of you, the thumbnail image in the bottom corner of the screen, or the full-screen showing only the presentation (2). Read the whole guide on Creating a video from a PPT presentation here.
Add an interactive option to your video
Once you have uploaded your video in Studio, there are various ways to activate your students so that they don’t remain merely passive listeners. One way is to ask questions through the video using Studio’s comment function. The students can write answers to your questions and comment on other people’s. Studio also has a simple quiz you can use to create your own multiple choice questions and embed them in the video for the students to test their comprehension. You can also use this function to create open questions, providing an opportunity for reflection for a minute or so before the video re-starts.
Read Canvas’s own guides on
- how to work with Comments in Studio
- how to manage Comments
- how to get notifications when someone comments
- how to create a video quiz
Attend a short course with us!
Find out about our short courses on using video in teaching. We currently have an introduction in which we review the basics and one course on how to work with Video and Submissions in Canvas.
You can find the training courses in our Calendar – select the Video category. Welcome!